Creating Rule-Driven Documents Based on Business Logic : Element and Flow level
Applying Element-Level Business Logic
Users can apply business logic directly to individual elements or group multiple elements together and apply the logic collectively.
Grouping Elements:
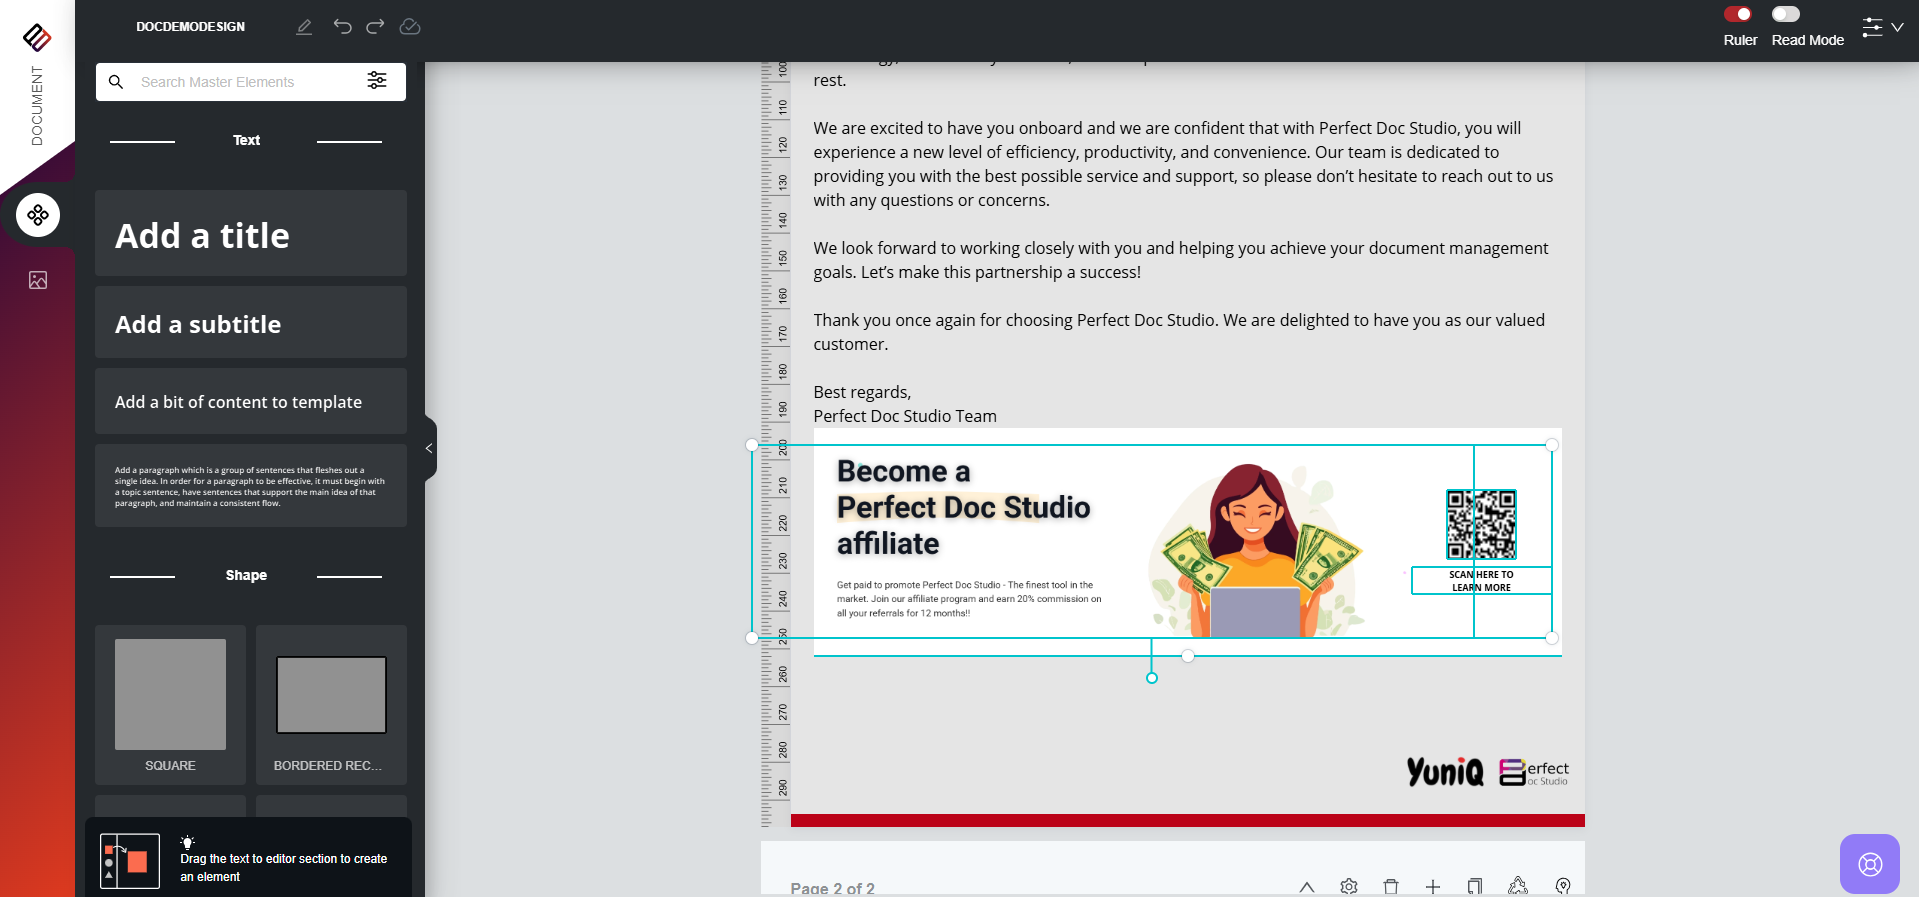
1. Select the elements you want to group:
2. Hold the Shift key and click on each element, or Drag over the area containing the elements to select them.
2. Hold the Shift key and click on each element, or Drag over the area containing the elements to select them.
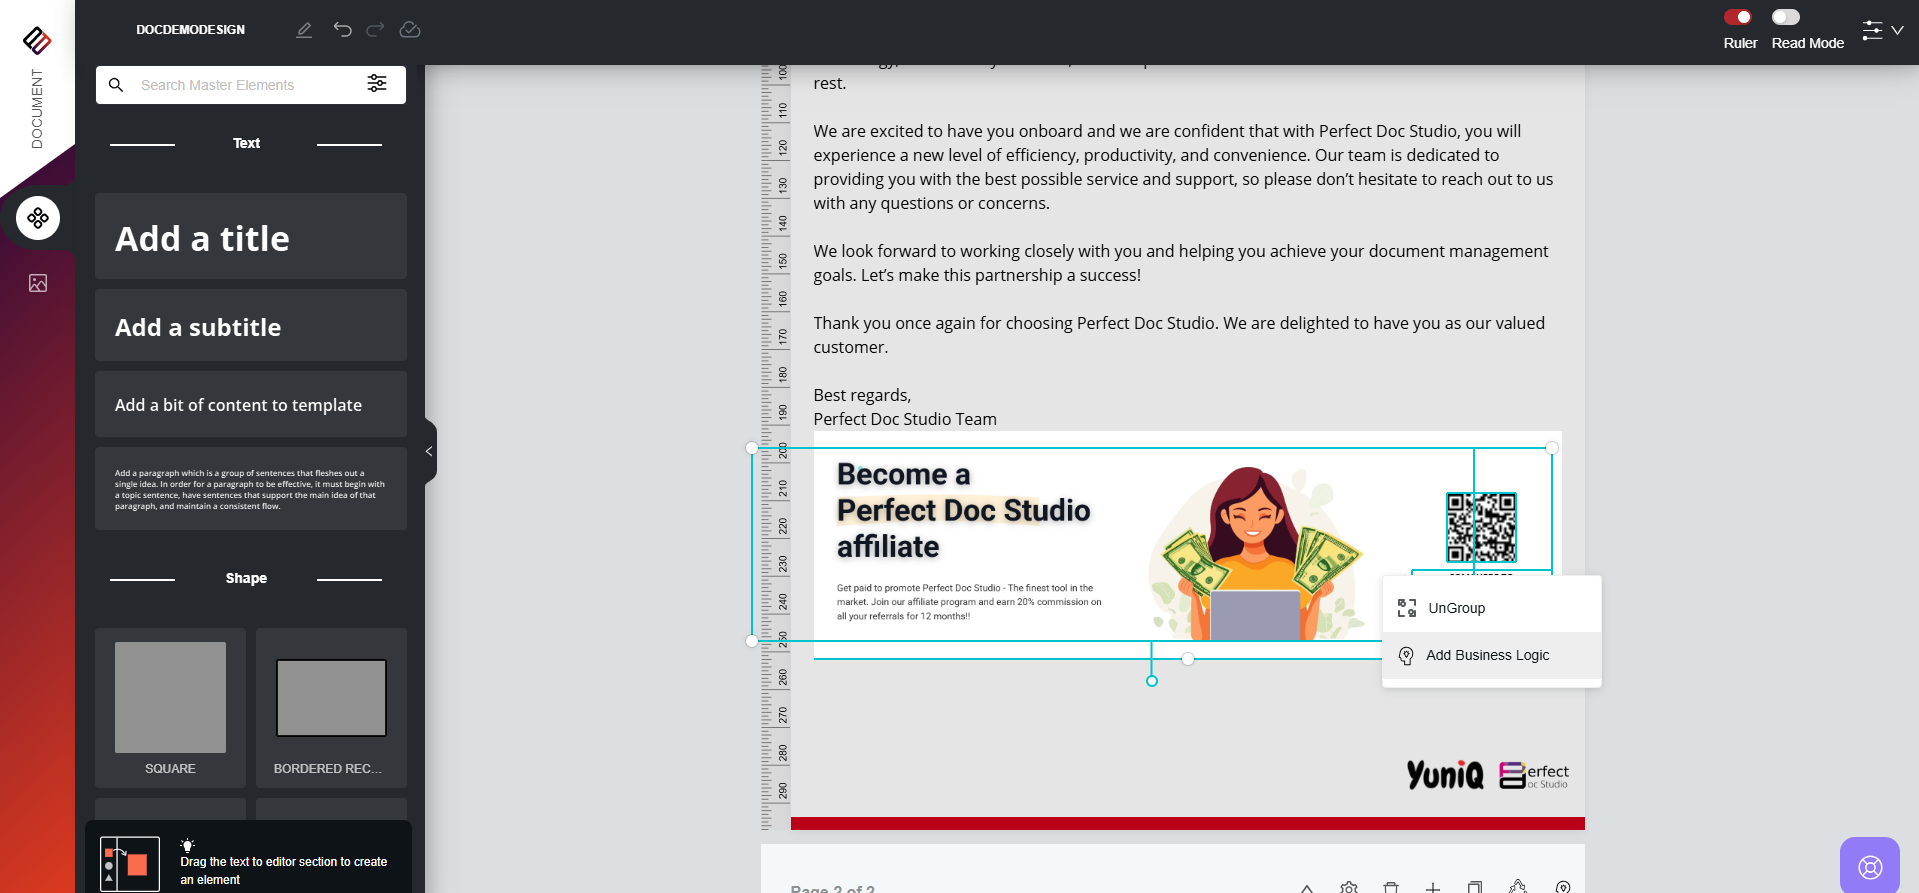
3. Right-click on the selected elements to view the available options: Group and Add Business Logic.
4. Click Group. A modal window will appear prompting you to provide a name for the grouped elements.
5. Enter a name and save. The selected elements will now be grouped.
Once the elements are grouped, follow these steps to apply business logic:
1. Select the grouped element and right-click on it.
2. Click on the Business Logic option. A modal will open to configure logic for the grouped elements.

2. Click on the Business Logic option. A modal will open to configure logic for the grouped elements.
3. If business logic has already been defined elsewhere in the document, you can select it here. Otherwise, you can create and apply a new logic.
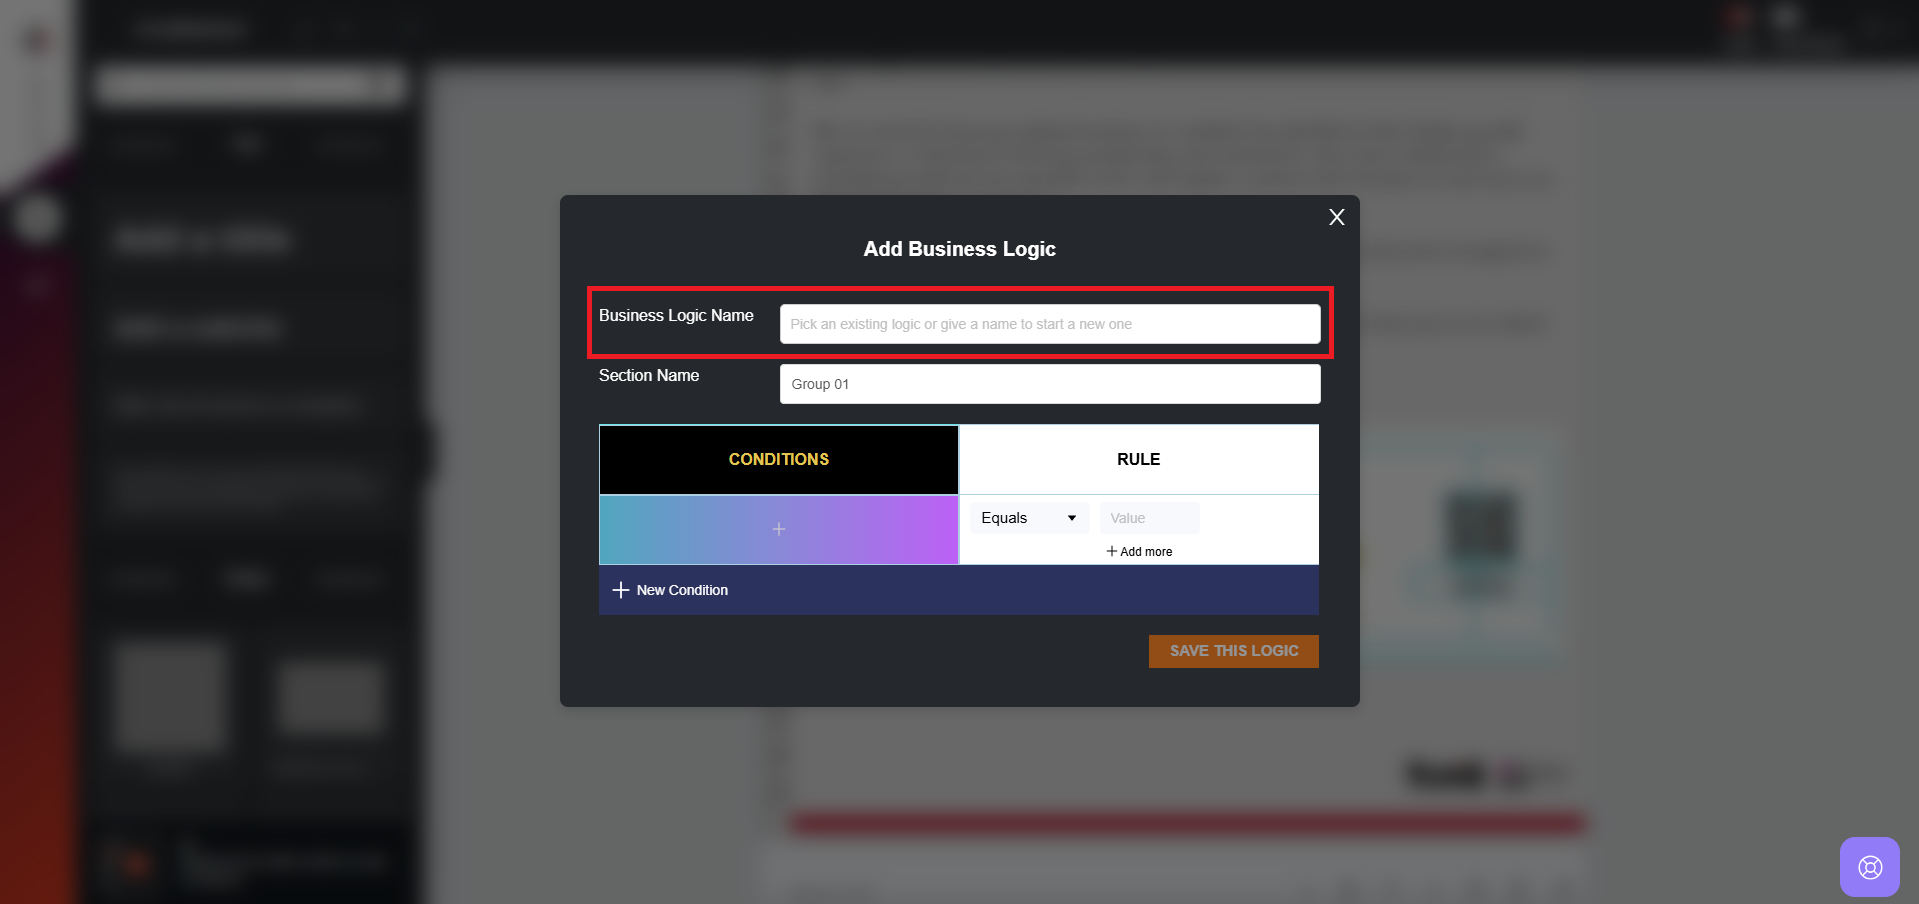
4. The Section Name shown in the modal corresponds to the group name you assigned while grouping the elements.
5. Choose a variable for the element group and assign the required logic.
Note: At the element level, only a single rule can be applied. In contrast, block-level business logic supports multiple rules for the same block.
6. Click Apply this Logic. The business logic is now applied to the grouped elements.

7. Users can edit or delete business logic from the Preview and Download section.


When applying business logic to a single element, the same steps are followed. However, you will need to manually provide a Section Name for that element, since the system does not automatically generate one as it does for grouped elements.
Applying Flow-Level Element Logic
Business logic can also be applied to an entire flow. To do this, follow the steps below:
1. On the top-right corner of the page, click the Add Business Logic button.
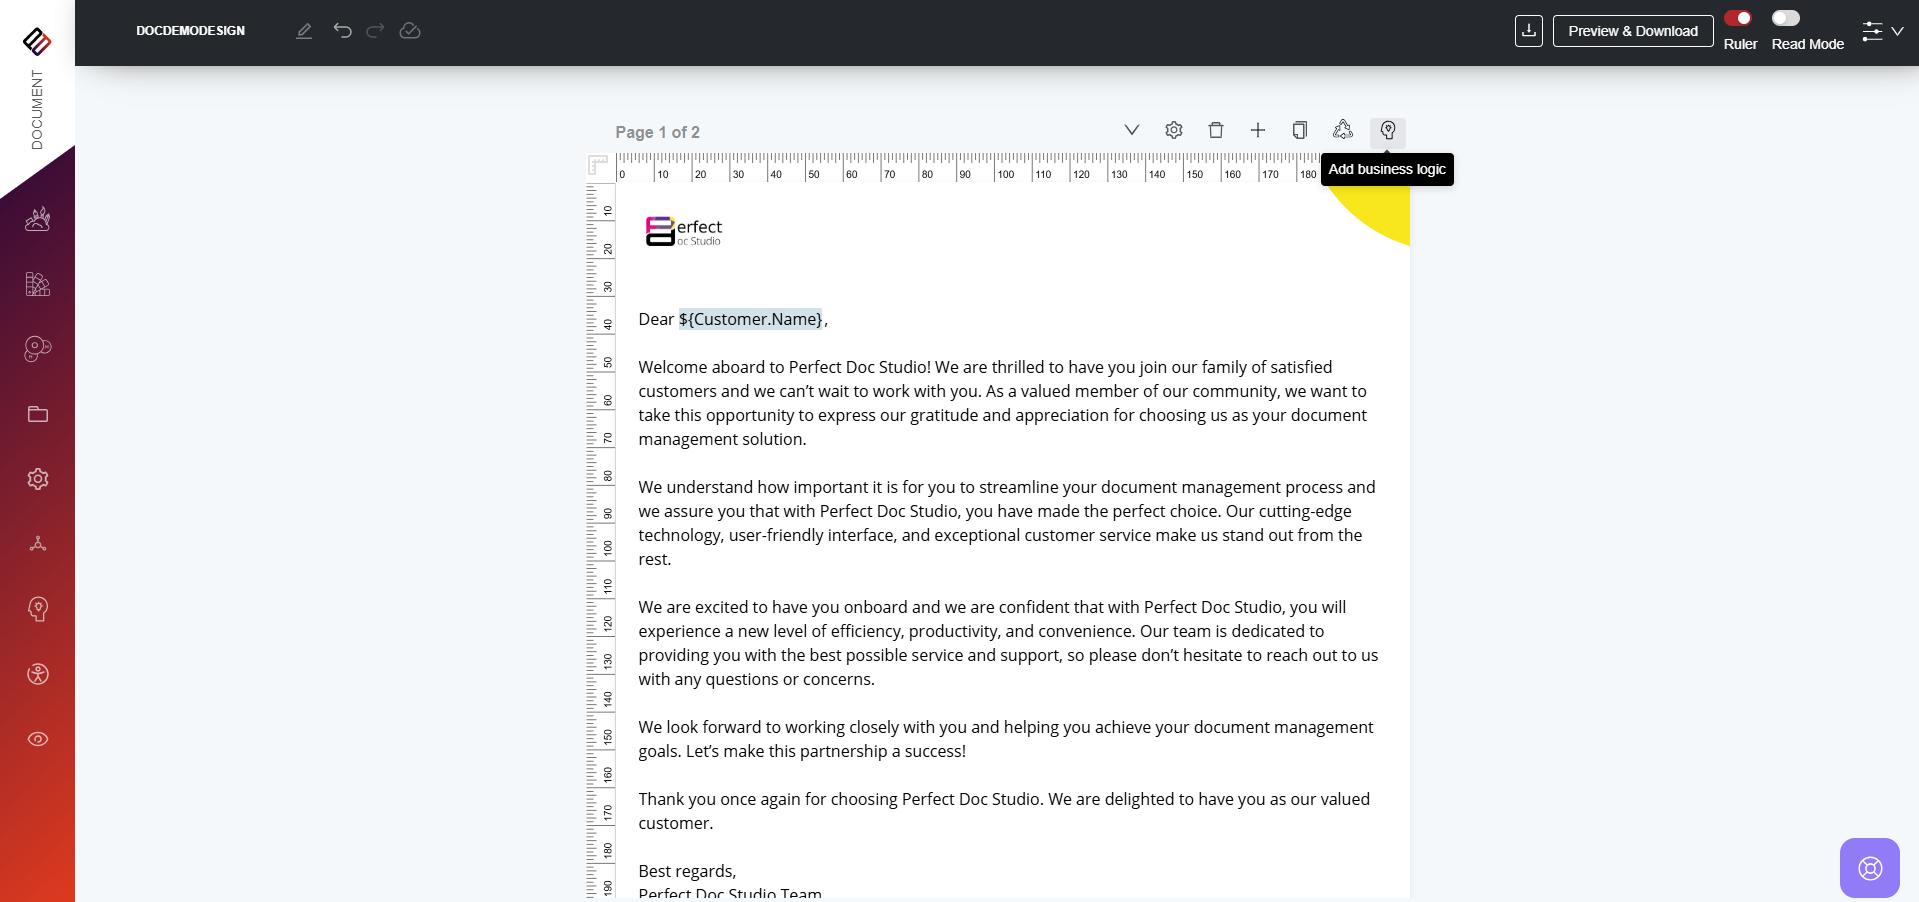
2. A modal window will appear for configuring the logic.
3. Select a variable and define the necessary logic.
4. Click Save Logic. The business logic will now be applied to the entire flow.
VIDEO DEMO:
Related Articles
Creating Rule-Driven Emails Based on Business Logic : Element level
Applying Element-Level Business Logic Users can apply business logic directly to individual elements or group multiple elements together and apply the logic collectively. Grouping Elements: 1. Select the elements you want to group: 2. Hold the Shift ...Creating Rule-Driven Documents Based on Business Logic : Block Level
Applying Block Level Business logic: Naming the section: In the document structure, each section is regarded as a block. Therefore, prior to applying any rules to a particular section, it is essential to assign a name to that section. Hover over the ...Creating Rule-Driven Emails Based on Business Logic : Block Level
Applying Block Level Element Logic: Naming the section: In the email structure, each section is regarded as a block. Therefore, prior to applying any rules to a particular section, it is essential to assign a name to that section. Hover over the ...Creating Rule-Driven Emails Based on Business Logic
Rule-driven emails are automatically generated or populated by applying predefined business rules and logic. These rules are tailored to meet the unique requirements and workflows of a business, ensuring that the generated emails conform to the ...What is Business logic?
Business Logic refers to the set of rules and conditions that determine how information is displayed, structured, or processed within a document. Instead of generating static, one-size-fits-all communications, business logic allows documents to adapt ...